DIY Farmhouse Pumpkin With Realistic Stem


 It’s officially Fall and feels like it again in Michigan after a few hot days somehow got thrown into the mix but to start it off I decided to turn a Dollar Store pumpkin into the perfect Farmhouse Boo with a realistic stem. I know you’ve all seen those horrible, bright orange Styrofoam pumpkins lining the shelves at the Dollar store well don’t overlook them you’ll want to throw a few into your cart and make these clever chalk paint pumpkins to add to your decor.
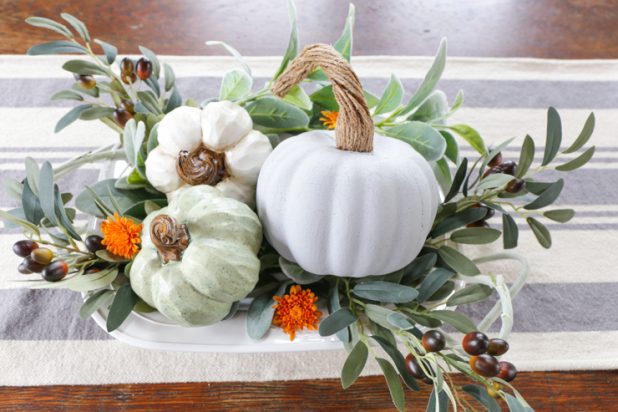
 I hadn’t planned on purchasing anything new for the season but how could I go wrong by spending $1? I had everything else to do the project so why not have a little fun, it’s about all that I’ve had time for with all the outside construction going on. I’d rather be outside working than cooped up indoors anyway, but this little craft was a welcomed project that got my mind off that huge to do list that must get done before winter’s here. If you scroll to the bottom I’ve included a material list and a step by step photo tutorial on how to make the pumpkins and stems.


MATERIAL LIST
- Dollar store pumpkin
- Xacto knife
- Twine
- Modg Podge
- Hot glue gun
- Cork
- Chalk paint
- Remove the green stem from the pumpkin, I found using an Xacto Knife worked best.
- Paint pumpkin with chalk paint or use the spray variety.
- Cut approximately 25 strands of twine 7″ in length twine (this may change depending on the size of the cork your using).
- Hot glue the strands of twine around the cork until completely full.
- Place in bowl and cover with Mode Podge and thoroughly coat (working it in with your hands).
- Twist twine and shape into a stem. Let dry overnight.
- Hot glue stem where the green stem once was. (I found it’s almost impossible to glue the twine to the original green stem without having glue everywhere on the newly painted pumpkin, so removing it and adding the cork is a much better option for me).


Dawn, those are too cute ! ..The stem does look so real. . They are a excellent option to buying the real ones each year. That is the one thing about this time of year…the to-do list never ends.
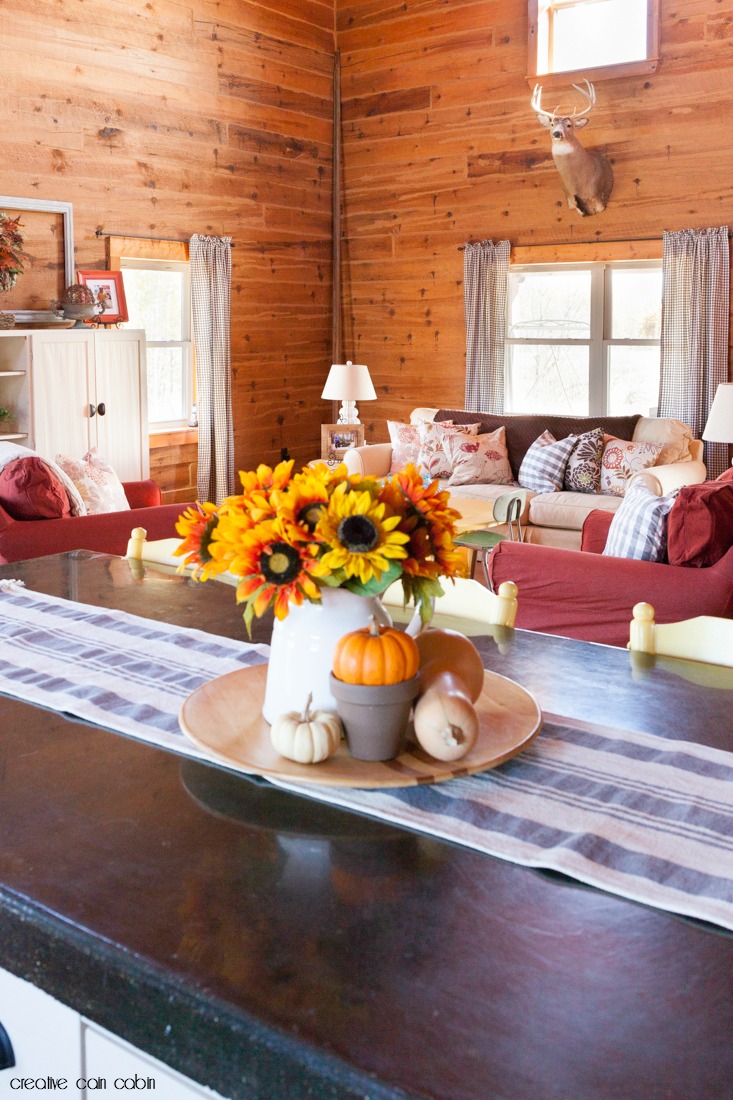
Cheryl, I was gifted all the pumpkins I’m using in my fall decor outside but we had about 4 days of 90’s and it sure wilted them fast. I’m glad I did pics before that happened. I think making faux is a much better option over time. Less mess and cost once I have a stash of them made.
Really cute idea….thanks for sharing.
Debbie, 🙂 Thank you for dropping by.
Very cute centerpiece. Another option is to buy some real ones this year (& gourds) and save the dried up stems. Then glue them onto fake ones next year. They dry good and hard and pop right off. I have saved them for a few years, now I need to dig them out!
Arlene, yes I’m saving my stems this year…thanks for the reminder 🙂
I was just looking at an apple shaped bottle this morning thinking it would make the cutest little pumpkin if painted but I was stumped by how to make a nice looking stem for it. You solved that dilemma for me! yay and thank you! Pinned!
Pam, thank you for pinning. Did you ever find an apple shaped bottle? I was thinking about it and don’t think I’ve ever seen one.
I love how you can make something cute with a Dollar Store item. Love the pumpkins, Kathleen in Az
Kathleen I love the dollar store, sometimes they have great things to work with.